This is part one of a five-part series of posts on compiling Amiga-specific C code on an (emulated) Amiga A1200. We’ll start with a machine with an empty hard drive, and over the series, build up to compiling an Amiga-specific program which uses the graphics library.
Let’s go!
Way back in history, when I was maybe six or seven years old, I got my first computer: a Sinclair ZX-81 with its somewhat limited 1kB of RAM. I was hooked immediately. I quickly managed to get myself a 16kB RAM expansion pack, and taught myself BASIC by typing in listings from computer mags and Usborne books, marveling at the way I could get this machine to do what I wanted.
By the early 1990s, following a spell with a Commodore Plus Four, I moved up to a Commodore Amiga A500+ and shortly after that to an A1200 with a 20MB internal hard drive. Sure, the Amiga was a great gaming machine, but it’s the machine I really learned to program on. I learned the ins and outs of the Amiga’s shell scripting language, and really honed my BASIC skills with AMOS Professional.
My first foray into C came in 1994, when Amiga Shopper magazine included a cut down version of DICE (which I think stands for Dillon’s Integrated C Environment), and a sample of a couple of chapters of Cliff Ramshaw’s book: Complete Amiga C. The coverdisk was missing the Amiga include files, and as far as I can remember, didn’t get as far as making Amiga library calls. I needed more, so I sent away in the post to buy the full book, which came with the full version of DICE including the official Amiga header files.
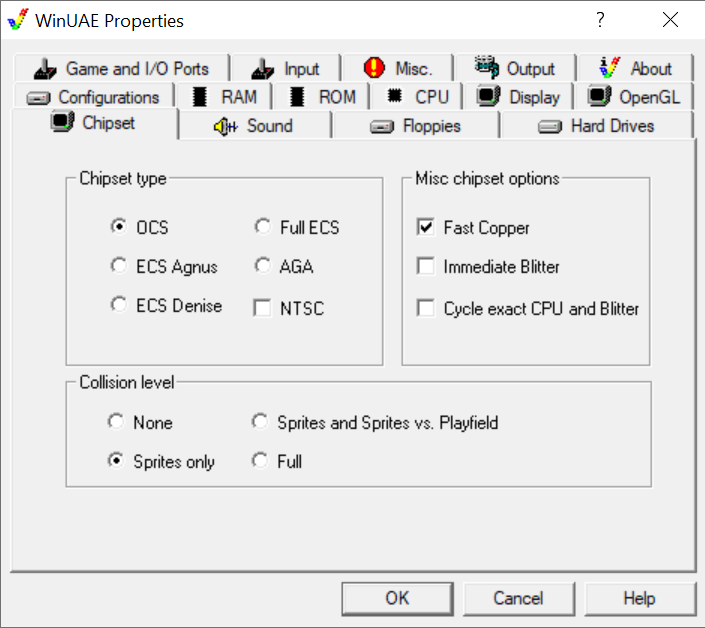
Now, fast forward over 25 years to 2021. I’ve just moved house, and as part of clearing things out I went through all my old computer books, including Complete Amiga C. I flicked through the old musty pages, and it really rekindled a yearning to get back to playing around on an Amiga. Sadly, my childhood machines have disappeared … I genuinely have no recollection of where they went, so I started investigating emulation options. I start with WinUAE but the real limitation is that it doesn’t come with Kickstart ROM images, which together with the Workbench software, make up AmigaOS. The only legal ways that I know of to get the ROM images are to either extract them from your own Amiga using a tool like TransROM (included with WinUAE), or to buy them. I also found WinUAE to be a bit of a pain to configure, and not really very inviting for an emulator novice.
Just take a look at what WinUAE present you with after first loading. It’s pretty overwhelming.

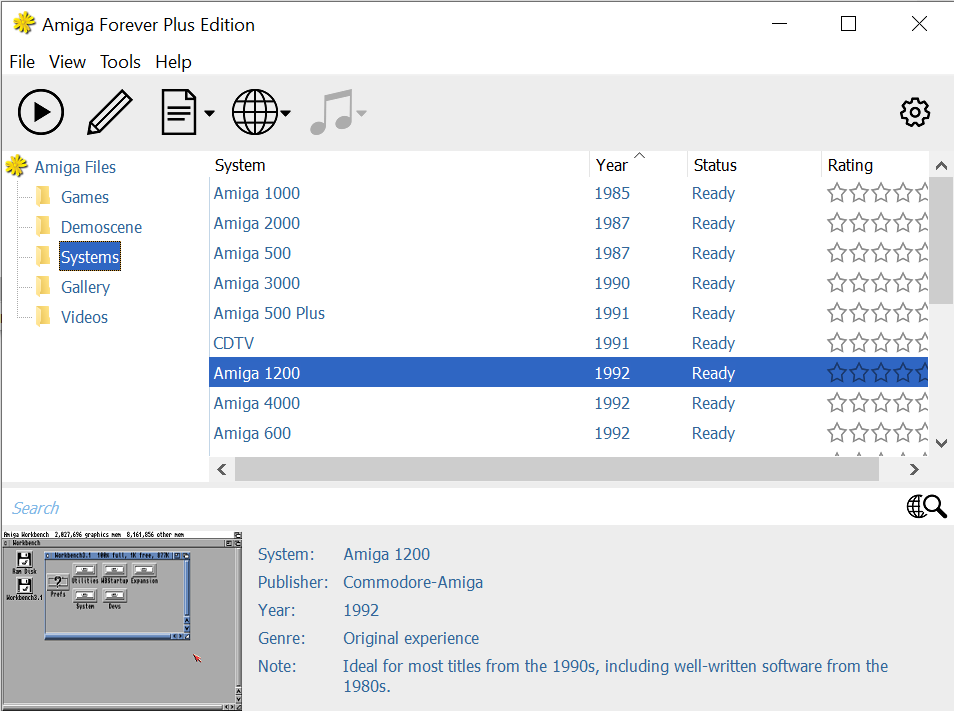
That’s when I heard about Amiga Forever. It’s essentially a really nice warpper around WinUAE, that package up machines and disk images together into .rp9 files. But what else is really cool is that it comes complete with licensed Kickstart ROM and Workbench disk images. Seemed like a pretty easy snap purchase to me.
In comparison to WinUAE, you can see that Amiga Forever has a bunch of predefined machine images already created and ready for you to boot up. Much easier to get started with.

So, what I’m going to do over the next four posts, is get an Amiga 1200 setup with a virtual hard disk, a compiler installed, and compiling some C code which makes use of AmigaOS kernel calls. You could grab Amiga Forever yourself and follow along, or (if you can source Workbench and ROM images) do the same for free with WinUAE. Or just read along and relive the sheer joy that I’m having working with this “ancient” machine.
It’s going to be a fun ride.